
I couldn’t stop myself when I was watching pictures of nails that had been done by using stamper decals. I fell in love in instantly ! The process is simple and much easier than I had expected. The results looked too good to be that easy 😀 Even I succeeded at the first time I tried it.
Here is an excellent guide how to use the technique: http://www.messymansion.com.au/advanced-technique-stamper-decals/
It helped me a lot, so go and check it out if you haven’t tried this before ! 🙂
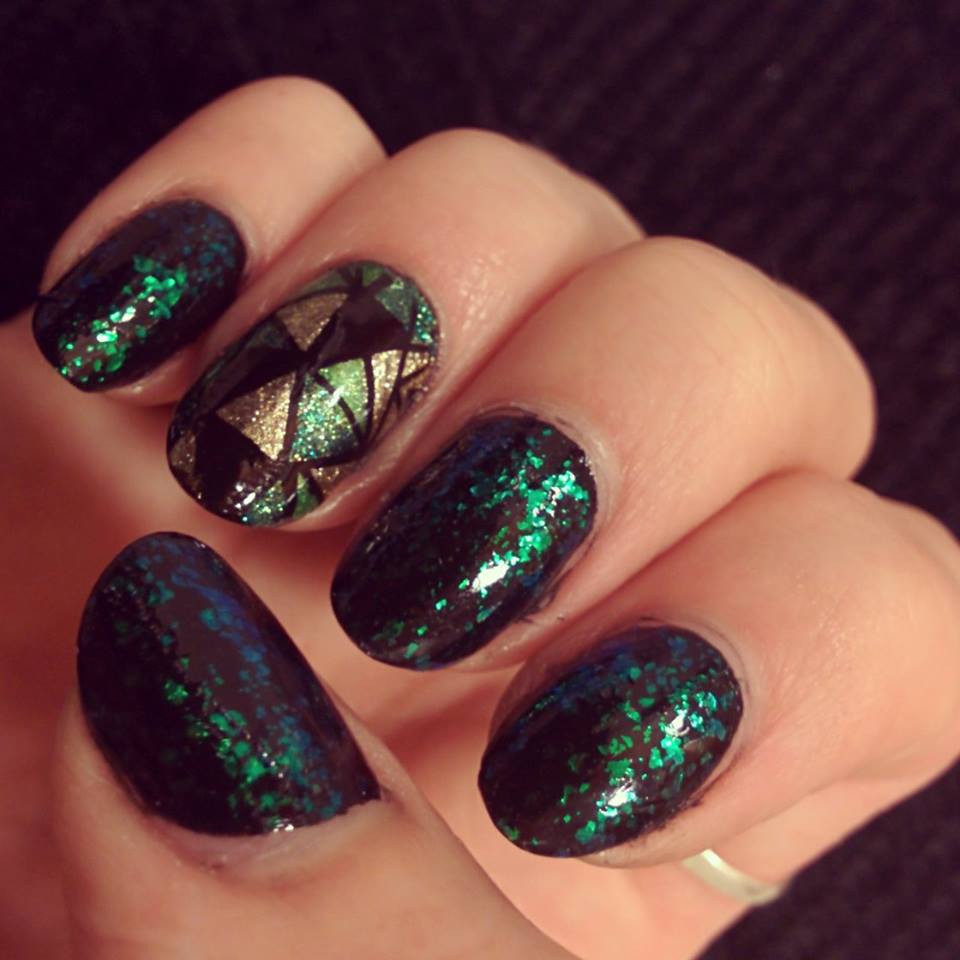
I started by selecting the plate, and I ended up with the triangle pattern from Bundlemonsters 414. It seemed a good option to try this technique because of all the “empty parts” it has. I filled the parts with green and gold polishes, Wet n wilds Sage in the City & Gold Album (from the Fergie collection) and Ho-ho-holly from Color Club. First, I painted my nails black to get a good surface for the decal. Then it was the moment of truth – trying to place it without ruining it. It went quite well, the hardest part was to try to clean my cuticles without damaging the pattern. This will definitely be a technique for more frequent use for me ! :3
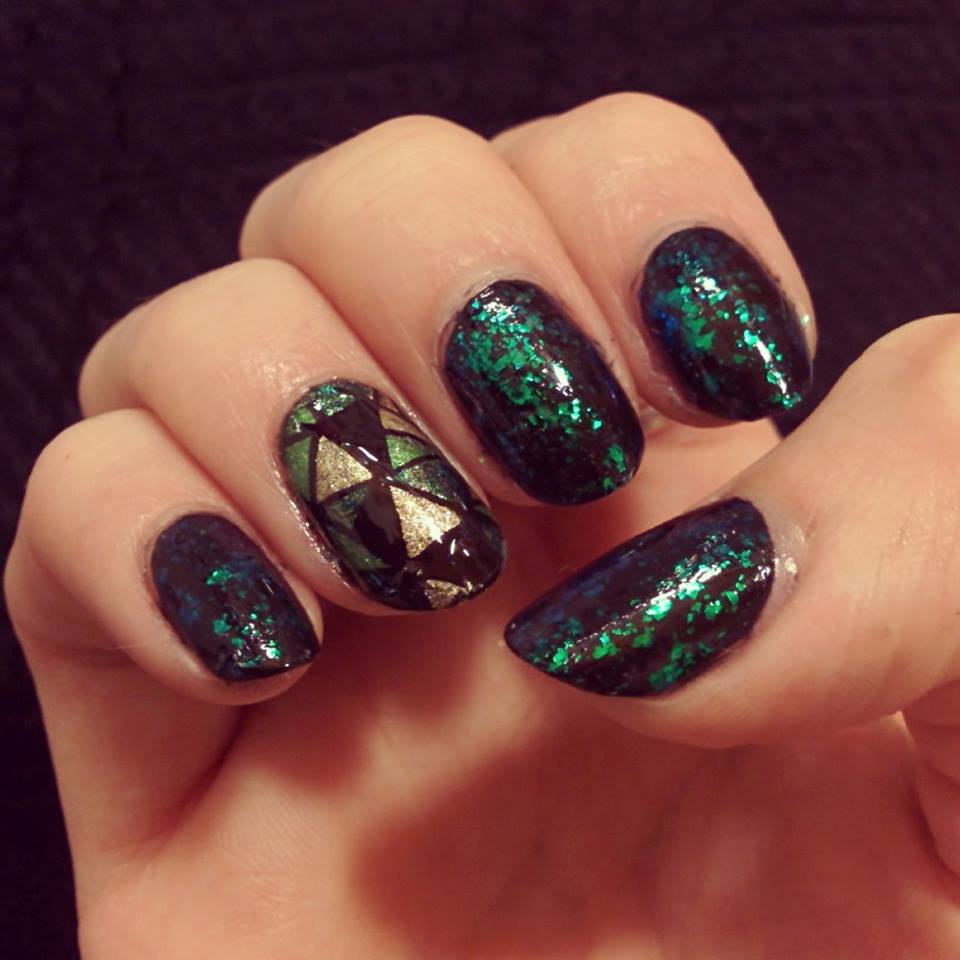
To my other nails I used Nfu.Oh 39. I bought it from my sister a while ago, but have been drooling over it for ages. Flakies are definitely my weak spot :3
– Neridan


Comments on: "7. Stamper decals" (4)
Love the design!
LikeLike
I love your nails! Stunning xx
LikeLike
@Sammysalterego & @Julie Marie: Thank you both so much, it brightens my day to hear that! ^_^
LikeLike
So, I might be totally late for commenting. I just started reading your blog and I have to say I love…love…love…love…your work. And the link for this technique is really good. I’m definitely a follower ^_^. I’ll keep reading and can’t wait to see more of what you do.
LikeLike